I’m going to go through the tutorial myself (on Linux) so we’re at the same point, but in the mean time I have some suggestions in case you haven’t done this before.
Firstly, from the Window showing “Hello SAFE Network!” you can open the Chrome debugger by choosing View > Toggle Developer Tools (Ctrl-Shift-I).
From there you can navigate to the source code for safenetwork.js. Click the Sources tab and then navigate to your examples folder under ‘(no domain)’ and there you will find safenetwork.js
Click on the file you want to view, and you can set breakpoints, step through the code etc.
Also, note the Console tab. This is where errors and output from console.log() will appear (or when you get to the safenetwork-fuse code you’ll see I use debug() for console ouput).
Let me know if you already know this stuff!
UPDATE:
I have reached the second npm start which I think is where you are.
Here’s what I have in my safenetwork.js at that point (forget main.js, I hadn’t looked at the tutorial properly when I asked about that, sorry!):
const app = require('electron').remote.app;
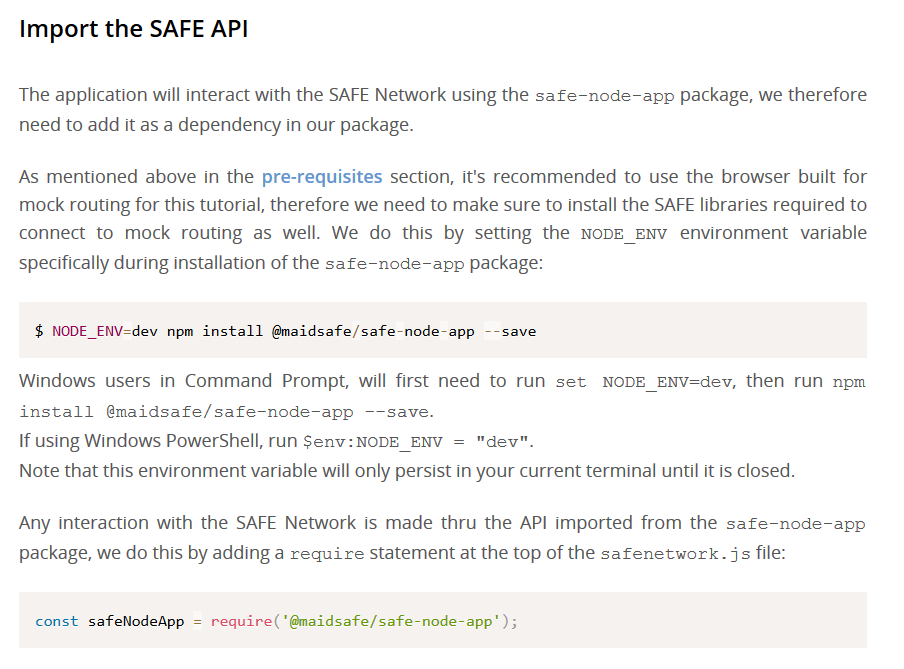
const safeNodeApp = require('@maidsafe/safe-node-app');

const customExecPath = [process.execPath, app.getAppPath()];
let safeApp;

async function sendAuthRequest() {
  console.log('Authorising SAFE application...');
  const appInfo = {
    // User-facing name of our app. It will be shown
    // in the Authenticator user's interface.
    name: 'Hello SAFE Network',
    // This is a unique ID of our app
    id: 'net.maidsafe.tutorials.desktop-app',
    version: '0.1.0',
    vendor: 'MaidSafe.net Ltd.',
    bundle: 'com.github.electron',
    customExecPath
  };

  const opts = {
    forceUseMock: true
  };

  safeApp = await safeNodeApp.initialiseApp(appInfo, null, opts);
  const authUri = await safeApp.auth.genAuthUri({});
  await safeApp.auth.openUri(authUri);
}

async function uponAuthResponse(resAuthUri) {
}

async function getItems() {
  return [];
};

async function insertItem(key, value) {
};

async function updateItem(key, value, version) {
};

async function deleteItems(items) {
};

module.exports = {
  sendAuthRequest,
  uponAuthResponse,
  getItems,
  insertItem,
  updateItem,
  deleteItems
};
It is now that you should start the Peruse Browser and log in, but be sure you have the ‘dev’ browser, so for Windows you want:
Peruse-v0.7.0-win-x64-dev.zip
From here: Release Peruse 0.7.0 · maidsafe/sn_browser · GitHub
When you run the dev browser I think it uses the mock network by default, but to be sure you might want to set your environment variable NODE_ENV to ‘dev’ before running it.
You could try to login with the password mocksafenetworkdeveloper but I’m not sure if that works, so to start I suggest you just create and account with that or a similar password and the same ‘secret’. Then runnpm start, open the debugger (Ctrl-Shift-I or View/Toggle Developer Tools) and take it from there.
Let me know how you get on!
With the above safenetwork.js and Peruse dev running, when I do:
npm start
I do get the Auth popup n Peruse.
If you still don’t, compare your safenetwork.js with mine. I think the Tutorial is not very clear and you have to know what you’re doing before you do it or you (as I did at first) may well not get it right.
@dgeddes I think the tutorials need to be clearer. For example, build up the code step by step and show cumulative progress of the whole file. So if the Tutorial starts with a load of code (as currently) it should show that, highlight what is being changed, and show the resulting code before each ‘run’, otherwise it is quite hard for somebody who doesn’t know quite a lot already to get it right. I got it wrong, and I suspect this might be why @lukas is stuck.
